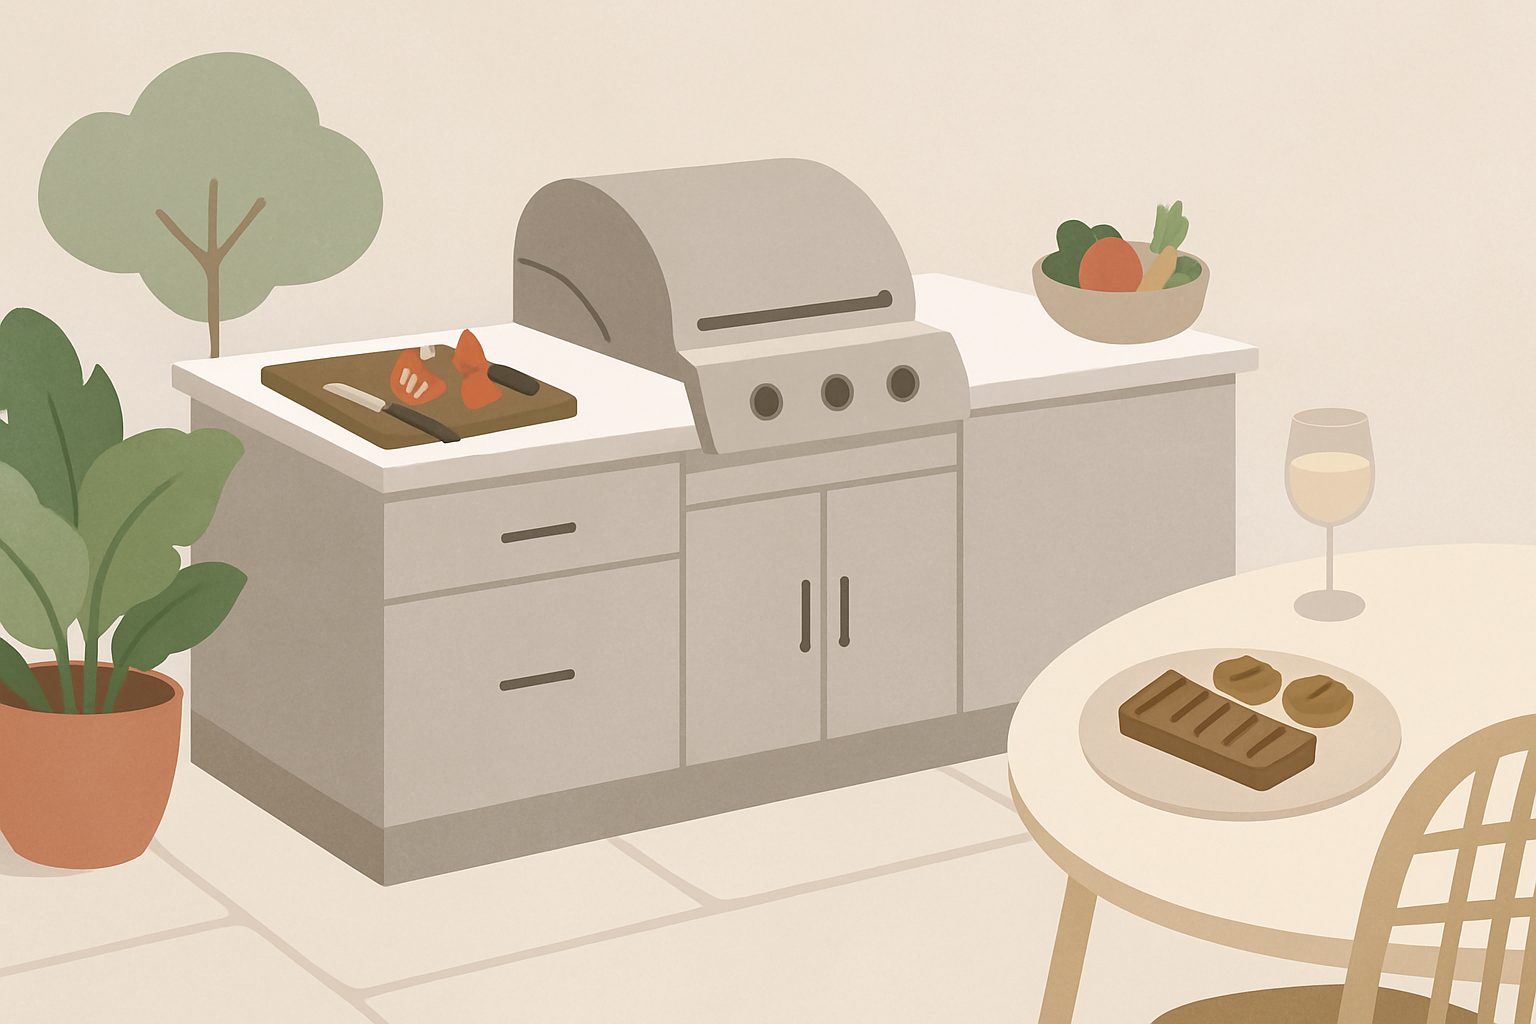
How to Plan Your Outdoor Kitchen Island Layout: A Step-by-Step UK Guide
An outdoor kitchen island can transform your garden into a genuine entertaining space—but only if it's positioned sensibly. Poor planning leads to wasted money, awkward workflows, and installations that feel cramped or inaccessible. A few hours spent mapping your layout now saves serious frustration later.
Measure Your Space Properly
Start by mapping your garden to scale on paper or using a free digital tool like Sketchup. You need to know:
- Overall garden dimensions
- The location of existing structures: fences, trees, seating areas, sheds
- Which direction receives afternoon sun and prevailing wind
- Where drainage sits and how water currently flows
For an island, aim for at least 2.5–3 metres of clear space on all sides. This sounds generous, but it's the distance needed for comfortable circulation and for opening appliance doors without blocking a pathway. In smaller gardens, this often means sacrificing the island altogether in favour of a linear run against a boundary wall—a perfectly valid approach that we'll touch on later.
Photograph the space from different angles. Natural light and shadowing change throughout the day and the seasons; that brilliant south-facing corner in June might feel unbearably exposed in July.
Plan Your Utility Runs
Outdoor kitchens demand water, drainage, and sometimes gas or electricity. These infrastructure decisions often dictate where your island can actually sit.
Water and drainage: A dedicated water supply and waste pipe from the house is the gold standard but can cost £1,500–£3,500 depending on distance and digging requirements. If your island is more than 10 metres from the house, this gets expensive. Shorter distances are far more economical. Check whether existing garden utilities (garden tap, greenhouse supply) can be relocated closer to your planned location. Drainage needs a gentle slope and often a pump station if the island is above the main house drainage line—another cost to budget for.
Gas lines: If you're planning a built-in gas grill or hob, gas lines follow similar rules to water. Professional installation is non-negotiable; expect £800–£2,000 for supply and certification. Some people sidestep this with a propane bottle stored in a weatherproof cupboard beside the island—cheaper upfront but less tidy and requiring regular bottle swaps.
Electricity: A dedicated outdoor circuit with a weatherproof RCD-protected socket costs roughly £400–£900 depending on distance from the house. Absolutely necessary if you're installing a fridge, lighting, or warming elements.
Sketch these utility lines onto your scale plan. If gas and water both need to run from the house corner to your proposed island location, can they share a single trench? Combining runs saves cost.
Establish Your Cooking Zone
Your island's core function is cooking. The workflow matters. Position the grill, hob, or both facing the house or seating area so the cook isn't turning their back on guests. Ensure counter space on both sides of cooking equipment—at least 600mm on each side of a hob, 900mm to the side of a grill.
Prevailing winds are crucial. The predominant south-westerly wind in most of the UK means smoke blows back towards the house if your grill faces that direction. Position it to let wind carry smoke away from where people gather.
In smaller spaces, some people design L-shaped or peninsula layouts instead of freestanding islands. These save space, reduce utility runs, and often feel less cramped.
Consider Zoning and Flow
Divide your outdoor entertaining area into functional zones:
- Cooking zone: The island and immediate surroundings
- Prep zone: Counter space for food preparation and plating
- Serving zone: A clear route between island and dining table
- Seating zone: Where guests sit and eat
These zones shouldn't overlap. A common mistake is placing the island too close to seating—smoke, heat, and splashing become problematic, and the cook feels hemmed in.
Ensure at least 1.2 metres of passage between the island and any adjacent structures or seating. Tighter than this and movement feels awkward.
Account for Weather and Exposure
British gardens demand weatherproofing. Does your planned location get afternoon rain driven in from the south-west? Will seating areas get afternoon shade during summer? Will the island catch frost longer in winter than other parts of the garden?
An island in the middle of an open lawn catches more exposure than one nestled against a boundary or under a pergola. That exposure brings advantages—better air circulation, fewer mosquitoes—but also discomfort in rain and wind.
Some people leave their islands uncovered for summer entertaining and add a pop-up gazebo on occasion. Others invest in a permanent structure overhead, which complicates installation and costs more but extends the season considerably.
Modular vs Built-In: Why Layout Matters
Your final layout will largely determine whether a modular system or a built-in installation makes sense. If utility runs are short and your space is generous, built-in appliances offer better value and a seamless look. If you're constrained by distance or uncertain about positioning, a modular system lets you trial the layout, move things later, and dodge expensive groundworks.
The layout phase is where you'll discover whether your dream island is practical or whether a smaller, streamlined approach—or a deferred build-phase approach—makes more sense.
Final Checks
Once your plan is solid, walk it through at different times of day. Stand where guests would sit. Imagine moving between zones with trays and bottles. Test sight lines from the house. Notice how midday sun and evening light fall.
Share the scaled plan with any suppliers you're considering—they'll spot conflicts you've missed and may suggest refinements. Only then commit to digging or ordering materials.
More options
- Modular Outdoor Kitchen Island Units (Amazon UK)
- Stainless Steel Outdoor Kitchen BBQ Island (Amazon UK)
- Outdoor Kitchen Island Weatherproof Cover (Amazon UK)
- Outdoor Rated Undercounter Fridge (Amazon UK)
- Outdoor Pizza Oven Insert for Kitchen Island (Amazon UK)